Today’s post comes from Alistair MacKenzie, Discovery Supervisor at Pinery Provincial Park.
Have you ever thrown a tangle of rope to the ground in a frustrated fit?
I used to, but then I was lucky enough to be exposed to the sport of rock climbing. In short order, I learned a few essential knots that have changed my life.
I can now tie knots without frustration!
Know your knots
A good knot works effectively, is easy to tie, and most importantly is easily untied.
Through my work and my personal life, I’ve had the pleasure of exploring many of Ontario’s amazing protected areas.
Throughout all of my amazing experiences, using rope and tying knots has been integral.
I use rope and knots to:
- secure my water craft on my vehicle
- hang my food in a manner to not reward animals with food
- line my canoe up and down small rapids
- tie clotheslines
- erect my tarp for foul-weather protection
- practice first aid
And many more applications!
If you pick up a book on knot-tying, you may find yourself overwhelmed by the complexity and number knots to choose from.
While that kind of resource is incredibly helpful, I believe a novice should start with a select group of knots and then work up their skills to include the more complicated knots in time.
In fact, I believe that just five knots will suffice in more than 95% of cases.
Before getting to knots, it’s a good idea to talk briefly about varieties of rope.
There are many different types of rope and each are designed for a specific purpose. I’ll touch on just three types of rope: braided polypropylene, braided nylon, and kernmantle.
Braided polypropylene rope
Usually yellow in colour, this rope has only one purpose in my opinion: use in water. It is lightweight, floats, is rot-resistant, and inexpensive.
However, if you’ve ever tried to tie a knot in this rope, you’ll know that it frequently comes undone due to the memory of the material it is made with. This rope likes to be straight. If you’re going water-skiing, it’s a great choice. Otherwise move on to the ropes below for all other applications.
Braided nylon rope
This rope is usually white in colour and may vary in the number of strands braided together.
It’s a good type of rope for most knots as it is easy to curl into loops (bights), locks into effective knots, and is relatively easy to untie. Nylon is superior to polyester materials as polyester tends to stretch more when wet. This is important for hanging food and securing stuff on your roof racks.
Kernmantle rope
Kernmantle is essentially braided nylon with an outer protective sheath. This rope is wonderful in the hand, and is my personal favourite for most applications.
A bit of bad news for all the left-handed folks out there; you’re at a slight disadvantage as you’ll have to learn to tie knots in a right-handed manner, regardless of the rope type listed above.
Most ropes are constructed with a twist that tightens when tied in a right-handed manner and loosens or untwists when tied in left-handed manner. Some suppliers can provide left-handed ropes by special order, but if you’re heading to your local outlet to pick up some rope, be prepared to tie right-handed.
Onto knots…
Need to speed up or slow down the videos? Adjust the playback speed under settings at the bottom bar.
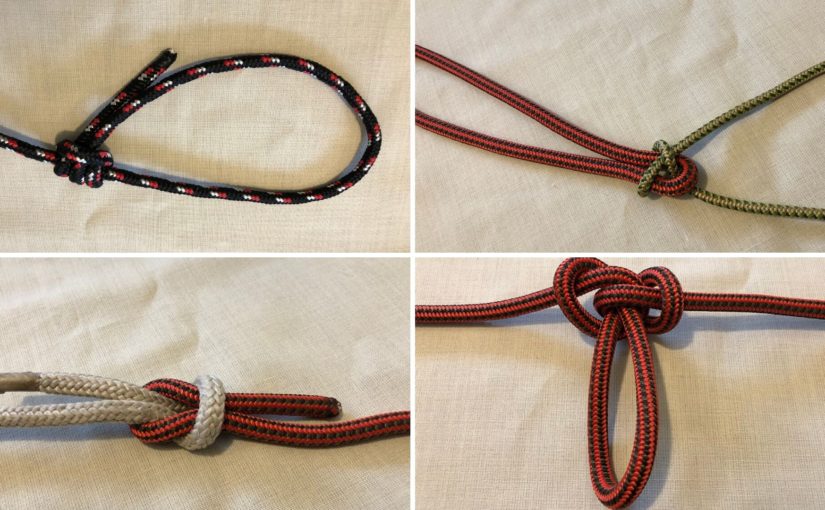
The bowline
The bowline is my favourite knot with a myriad of applications.
If you need a loop on the end of a rope that will not slip or slide, this knot is for you! The bowline is very easy to untie even after incredible strain. I once pulled a vehicle out of a snow-filled ditch using my climbing rope and a bowline and could easily untie the knot afterwards.
If you’ve ever had to leave a length of rope in a tree because your knot slipped out of reach, a long-looped bowline will help with your rope-buying budget.
Follow along with the video using this step-by-step description of the knot:
- Pass the working end of the rope around an anchor from right to left.
- Pass the working end over top of the tail of the rope and then fold over and up through the window to create a loop that is lying in the working end of the rope.
- Next, transfer the loop from the working end to the tail by gently pulling the working end straight upwards and then towards yourself, while at the same time gently pushing down on the loop under your right thumb.
- Pass the working end under the tail and down through the loop you just created. Tension the knot by pulling away from your body.
To untie a bowline, simply break the knot by bending the tongue (the loop in the knot that looks a lot like the classic Rolling Stones logo) away from the knot core.
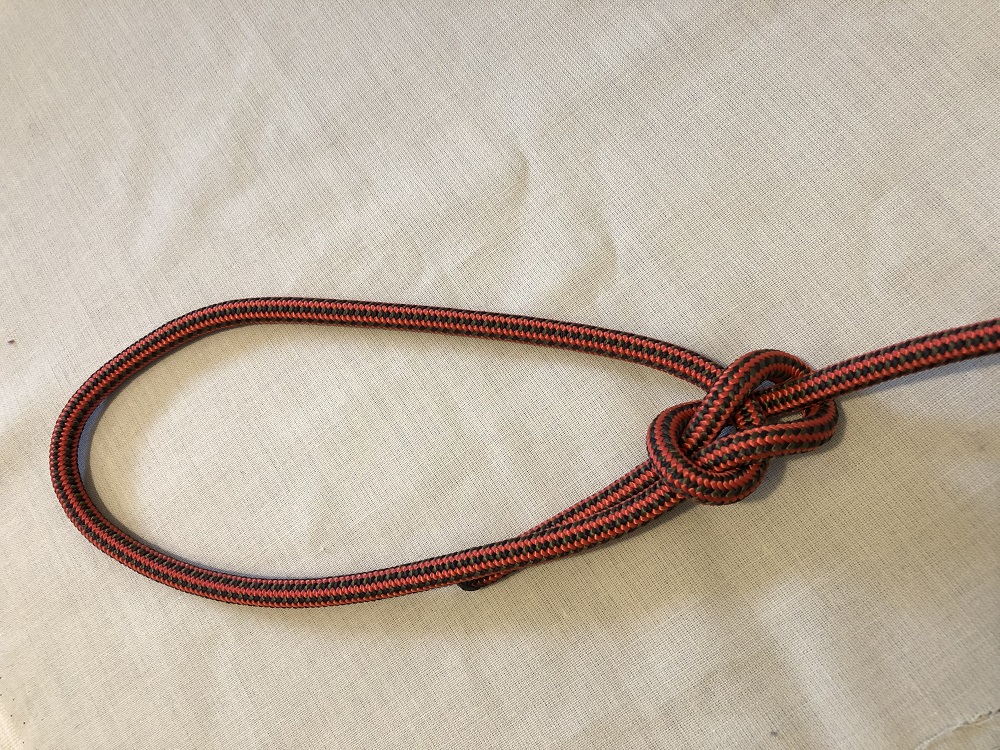
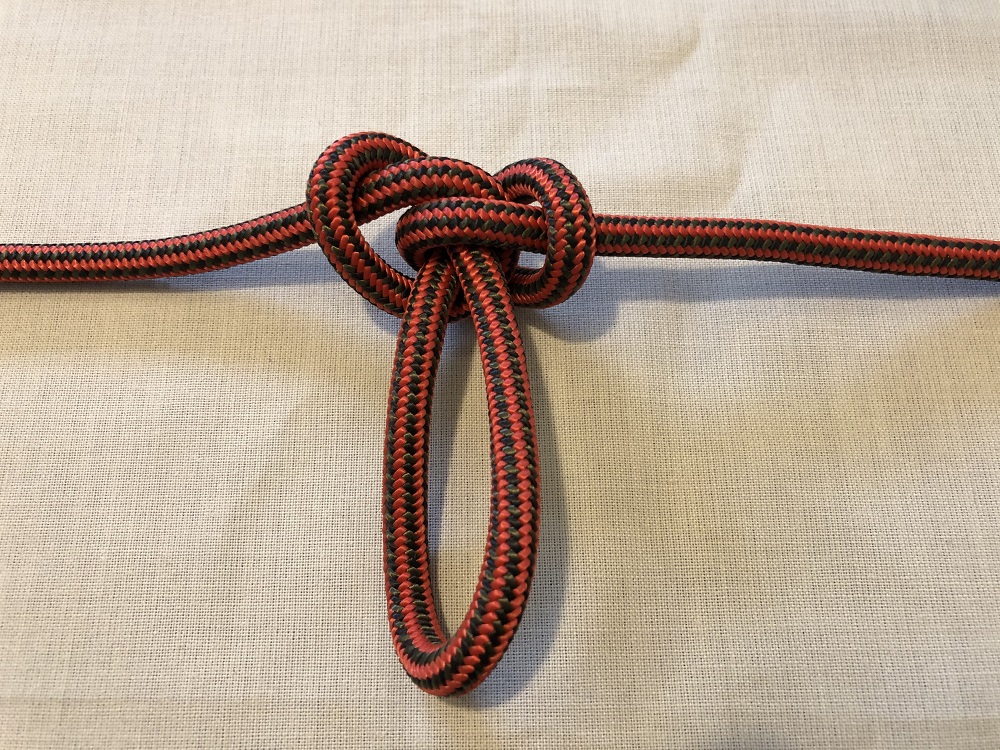
The alpine butterfly
This knot is perfect for tying a fixed loop in the middle of a length of rope.
It’s useful for tensioning ropes for clotheslines, pitching a tarp, securing roof racks, and many more applications, as you can use it like a pulley point to add tension to the line.
It’s very easy to untie by bending the “wings” of the butterfly backwards.
Follow along with the video using the following steps.
- Grasp the point of a loop of rope and twist it over two times to create a loop, a window, then a fork.
- Pass the point of the loop over the window and through the fork, then pull it back out the window.
- Tension the knot by pulling the rope sideways in opposite directions.
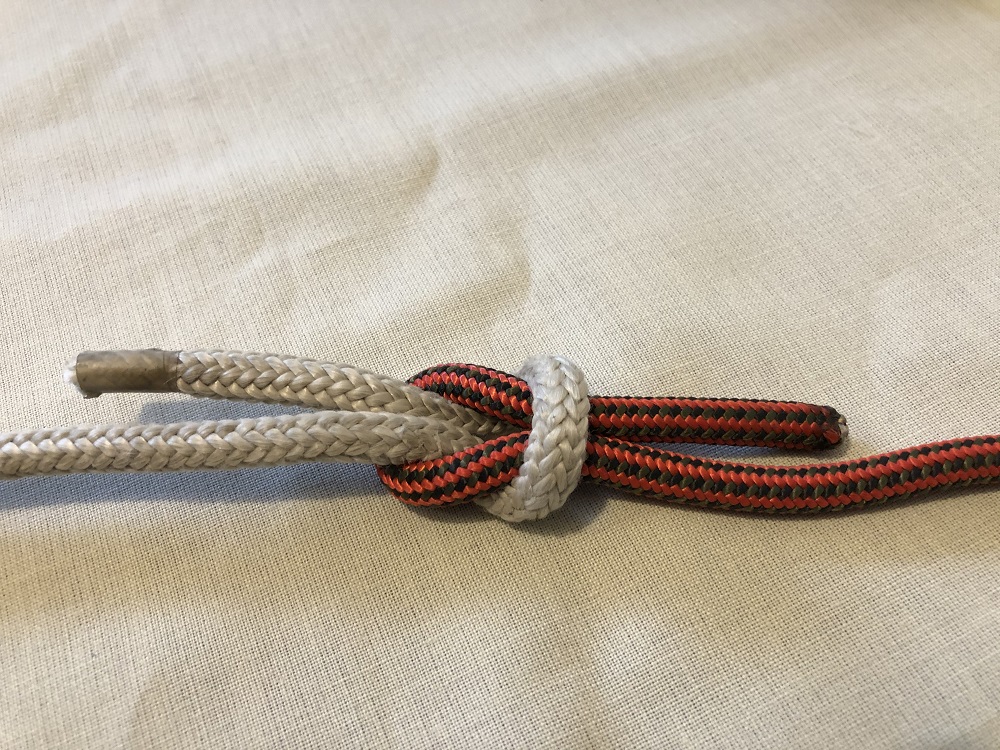
The sheet bend
This knot is often useful when erecting tarps at your campsite, especially for two ropes of different diameters.
While an effective knot when under tension, it does have a tendency to loosen when not under load. However, when pulled tight it is very effective if you find yourself needing to extend a rope a few extra meters and all you have is a larger or smaller diameter rope.
Follow along with the video, but start with the steps below.
- Create a loop in the larger diameter rope.
- Pass the working end of the smaller diameter rope up through the loop, wrap it around the back of the loop.
- Feed the working end under the tail of itself and across the opening of the loop and pull away to tension.
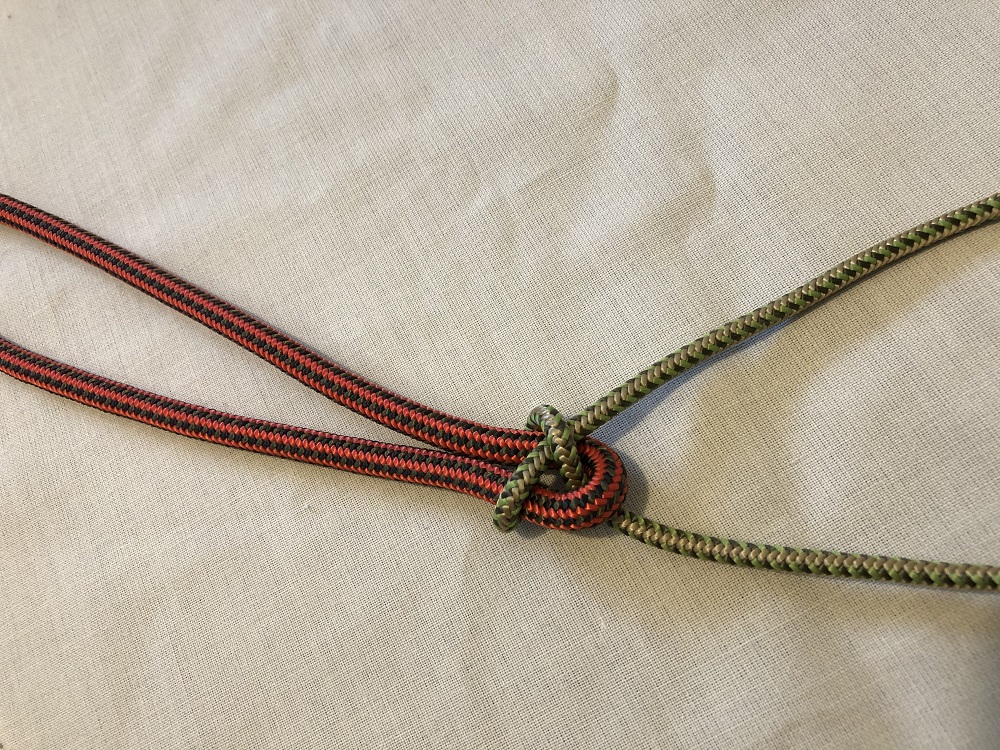
Often people remember this knot because it reminds them of a snake coming out of a hole, curling around the back of a tree, and slithering under its own tail and off into the forest to hunt.
The reef knot
Unlike the sheet bend, the reef knot is meant to join two ropes of the same diameter.
Also known as a square knot, the reef is a very effective tool for first aid, since it makes the flat knot effective at applying uniform pressure over a wound when tying a triangular bandage. Remember to put left over right and under, then right over left and under.
The taught line hitch
The taught line hitch is a useful knot to help tension a line. If you’ve ever slid that little metal piece on your tent fly guy lines up to tighten it after driving in your peg, you’ve used a similar version of this knot.
I love this knot for taking care of loose ends of a rope left over after tying a tensioning knot. It may take a little longer to master, but keep working and you’ll come out on top!
- Take the working end of a rope and pass it from the right to the left around an anchor.
- Next, wrap the working end around the tail and tuck it up through the window.
- Repeat the above step to make another wrap that lies beside the first one.
- Pass the rope over the first wrap and make another wrap outside the window and feed the end through.
- Tension the knot and pull it away from the anchor to tighten the line. If you look closely, you’ll see that the knot bends the rope when tensioned, allowing it to hold its position on the line.
The Colorado snake fight
Watch this video to learn how to coil your rope in a way that will allow it to easily uncoil.
Once I learned this skill, I’ve left behind the twisting, uncooperative alternatives and my rope is always at the ready. The Colorado snake fight frequently comes in handy when the sky opens in a deluge of rain right as I arrive to set up my campsite for the night.
In fact, Colorado snake fights can be thrown much like a life ring to a waiting person, or to uncoil the rope quickly.
To tie this rope coil, watch the video of coiling and uncoiling above. You will see that I rely heavily upon my knees to help clasp the rope as I coil it.
- Start by making three to four loops of rope that are the same diameter.
- Feed a small loop of the rope under the 3-4 starting loops and back through itself.
- Repeat the above motion, but pass one loop above the rest, then one beneath the loops.
- Clasp and release the loops in your knees, always working downwards away from your kneecaps.
- Keep this motion up working around the loops, one above, one below until you reach the end of your rope.
- Finish the coil by passing the end through the last two loops so you can easily find and release it when the time comes to uncoil.
Watch the video below to learn how to uncoil the Colorado snake fight:
Give it a “tie”
I get a real sense of satisfaction from knowing these select rope skills. They allow me to tackle many situations in the wilds of Ontario and help ensure the safety and comfort of my fellow campers.
Don’t get tied up in a ball of stress and frustration! Practice these skills and enjoy applying your knot skills on your next adventure.