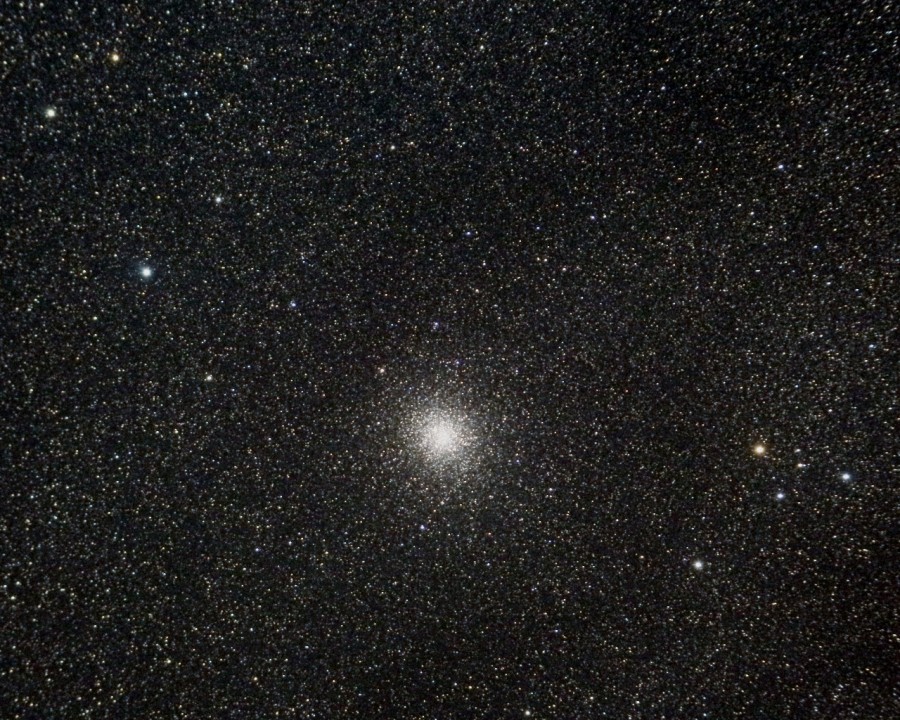
One of the best parts about camping at one of our parks is the breathtakingly clear night sky. These clear skies provide the perfect backdrop to see the wonders of our solar system sprawled out above you.
Seeing these magnificent skies is one thing, but being able to capture them adds a whole other level to the experience.
Here are our top tips for night sky photography:
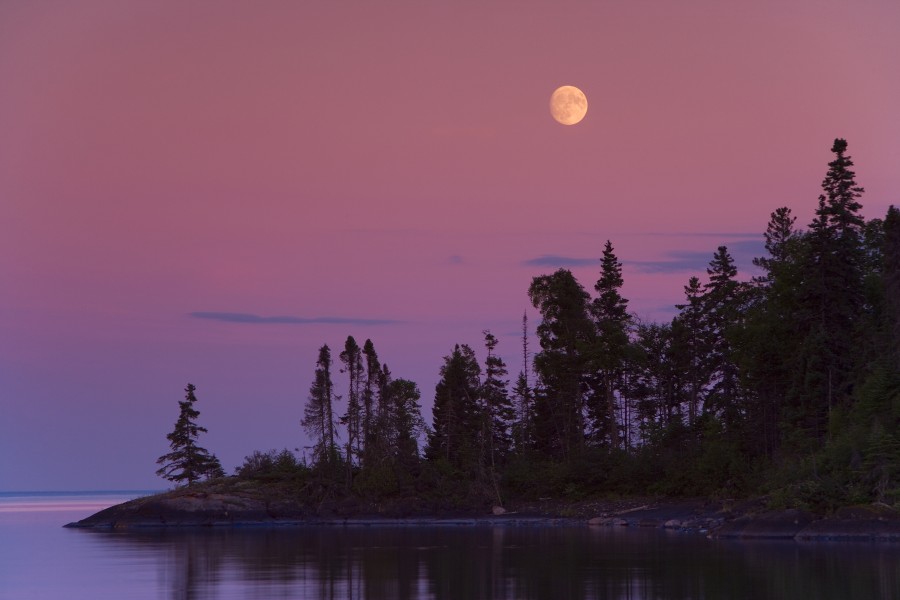
Watch the weather
Perhaps the most important part of getting a perfect night sky shot is having a clear night sky. One really big obstacle is a bright moon. While a bright moon may save some battery power on your flashlights, it can really overpower the stars. (Although, if you’re looking to take some pictures of the moon, this is your time to shine!)
Many smartphones are equipped with apps that can check sunrise, sunset, moonrise and moonset times. You can also try taking some night sky photos on your smartphone.
Park staff may be able to provide you with weather information if you’d prefer to drop off the social media grid. Weather forecasts are also often posted on bulletin boards near main park offices.
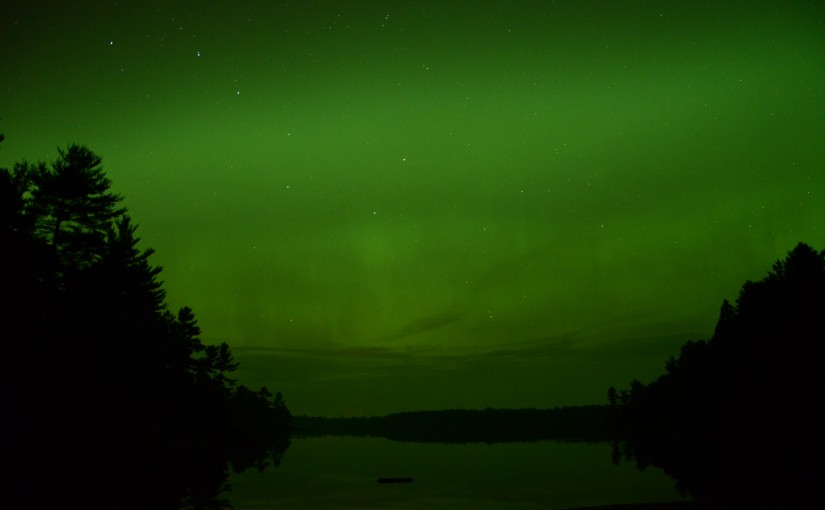
Wait for the right season
Every photographer longs to capture the beauty of the Northern Lights, but did you know the best time to shoot the Aurora Borealis is winter?
Ontario Parks does offer winter camping at several parks. Some even have heated accommodations which would provide the perfect base for your photography expedition.

In cold weather, make sure to give your lens about 30 minutes to adapt to the outside air. You might need this time for your body to adapt as well. You’ll also want a battery backup, as the cold will suck the life out of your battery.
Pack the right equipment
In order to take great photos of the night sky, you’ll need a digital camera that can produce an exposure time of at least 30 seconds. To get a better quality image, your camera should have a “BULB” mode to allow shutter speeds that are longer – maybe even up to an hour.
A Mirror Lock function will reduce camera slap, which happens when the mirror moves up at the beginning of the exposure. This will allow for a sharper image through the reduction of any kind of motion blur that may happen. Another step that you can take to sharpen your image is using a higher ISO.
In terms of lenses, a wide angle lens (16 mm or 28 mm) would work best if you have one. For less-pixelated images and faster shutter speeds, lenses with an aperture of f2.8 are recommended.
Of course, one of the best parts about photography is experimentation, so feel free to try a variety of equipment, or make the best out of what you have.
The most important piece of equipment for night sky photography is a tripod. A heavy tripod is a major key to great night sky photos because of the stability they offer.
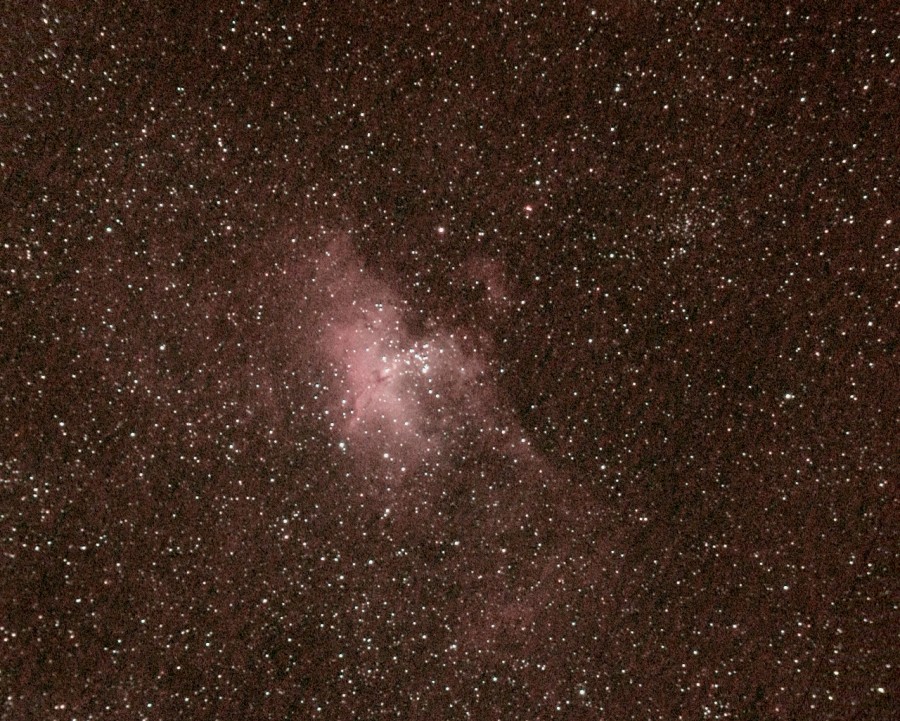
Location, location, location
The further away from the city, the better. The darkest skies are found in the northern sky, away from the horizon.
Explore our parks to find a perfect location, perhaps somewhere with interesting features to place in the foreground like rock formations or tree tops.