Nothing beats the rich, smoky flavour of campfire cooking. Grills are simple to use and allow you to cook a variety of food at once, including faves like steak, burgers, and corn on the cob.
But too often we hear tales of campfire woe, from the classic charred veggies/cold meat conundrum to the tear-inducing “my steak fell into the fire” tragedy.
Fear not, would-be grillmasters: these 5 tips will have you whipping up the perfect fire-grilled meal in no time.
1. Build a good fire
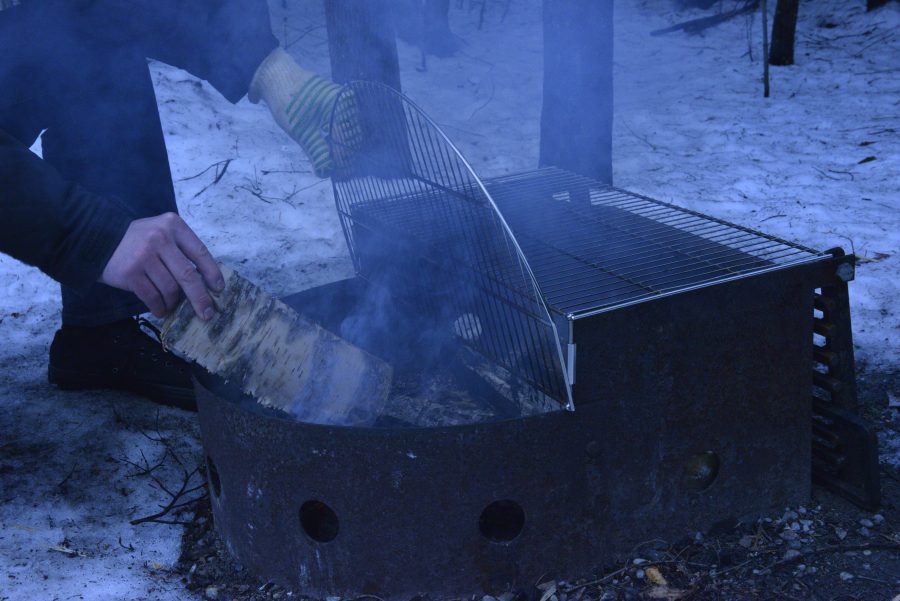
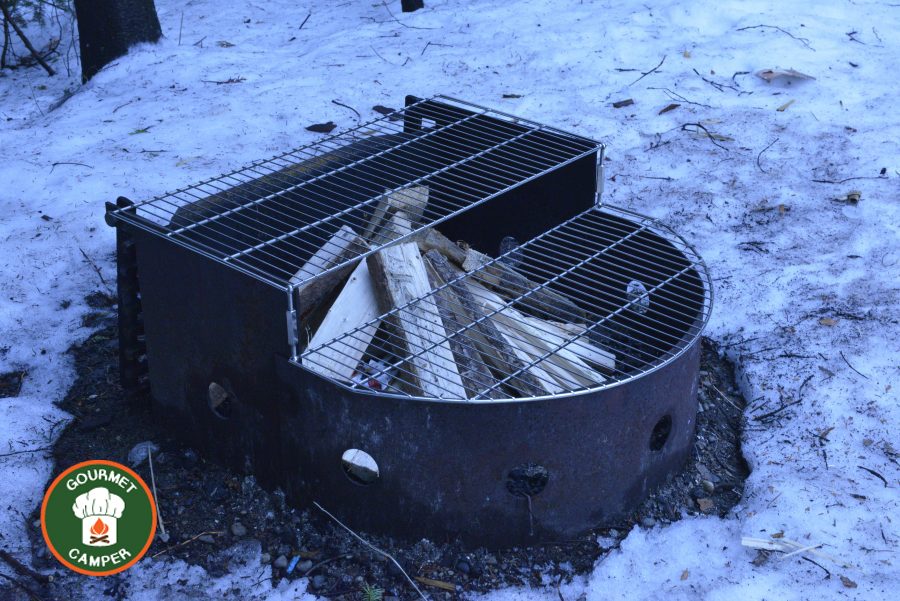
Cooking is best performed over the heat of well-established fire or bed of coals. Let the fire burn for at least 30 minutes before you start cooking.

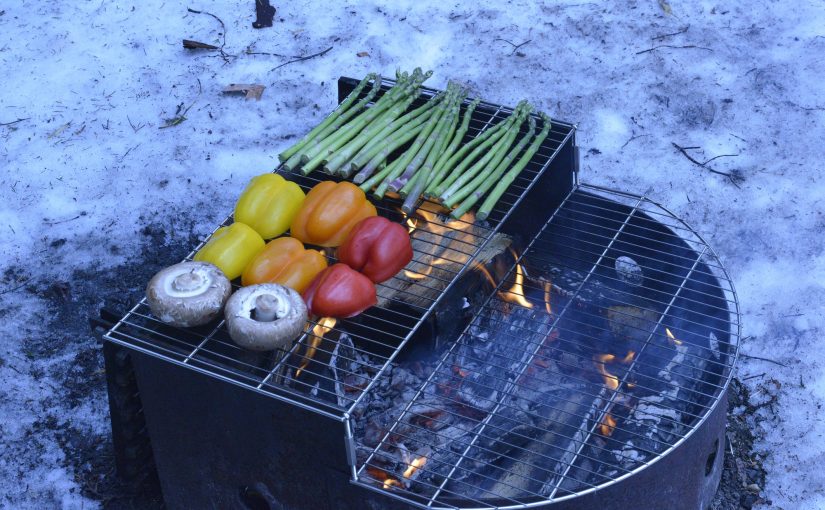
Because not all foods cook at the same speed and temperature, it’s a good idea to have designated hot and cool zones (we’ll come back to these in Step 5). Your grill’s hottest spot will be directly above the centre of your fire.
As the fire consumes the fuel, add wood to maintain a consistent temperature for cooking. A half- or flip-top grill can be a big help with this.
2. Choose the right grill / equipment
Not all designated firepits will be equipped with a grill, so it’s a good idea to bring your own (this also ensures it will be clean when you’re ready to start cooking).
Consider size when you’re selecting a grill. Too small and it won’t safely fit atop your firepit. Too big and it becomes a tripping hazard.
This dual-level grill by Gourmet Camper fits evenly around a firepit.
3. Prep your grill
Place your grill over the firepit and let it heat up. Position it carefully to ensure it won’t easily be knocked over (or find a grill that fits).

Coat an onion in oil, then skewer it on a BBQ for. Rub the onion vigorously across the hot grill. This will not only clean your grill, but will also prevent your food from sticking.
4. Add your food
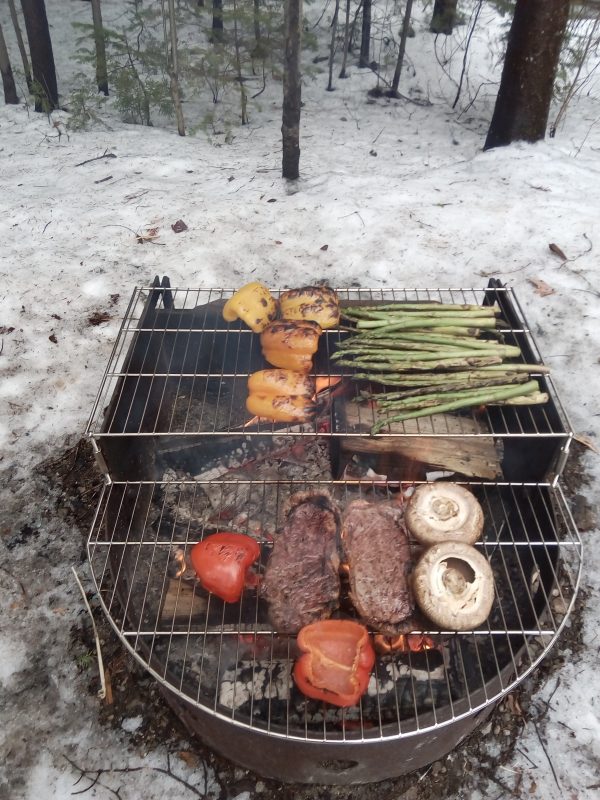
Add your slow-cookers first. These are your densest elements, like thick cuts of meat, potatoes and carrots.
If your grill has different levels, place your thinner cuts/foods on the highest level. This is also a good staging area for to-be-cooked items, and a good warming shelf for cooked-too-quick items.
Don’t wander off: food left alone on the grill can catch fire!
5. Don’t overcook
The perfectly grilled meal demands constant attention, but the results are definitely worth it. This is where our hot zone / cool zone campfire setup come into play.

Fires burn hot, and fire-cooked food tends to retain heat longer than usual, resulting in prolonged “carryover cooking.” Consider removing food from direct heat just a bit earlier than you might at home. You can rely on the residual heat to complete the cooking process (a meat thermometer is a great tool to ensure meat is cooked safely).
Keep a close eye on your meat and veggies, and be ready to shift them from zone to zone. Our goal is to have everything ready at the same time, but if something cooks too quick, just move it to the cool zone.
In no time at all, you’ll be ready to plate.
*BONUS* 6. Be a responsible post-meal grillmaster
Thoroughly douse your campfire after use. Hot coals retain a lot of heat long after the flames have died down.
Clean your grill thoroughly before and after use. Food left-overs, garbage, cooking oils or even pots that have not been cleaned can attract for animals.